Got a recovering Rover in need of an E-cone? You can certain just buy an E-cone if you like (we discuss some of the very best options here), but you can also construct your own DIY dog cone if you can’t find a commercial model you like or you’d just like to save a few bucks.
We’ll explain everything you need to know below.
Why Use E-Cones? What Purpose Do E-Cones Serve?
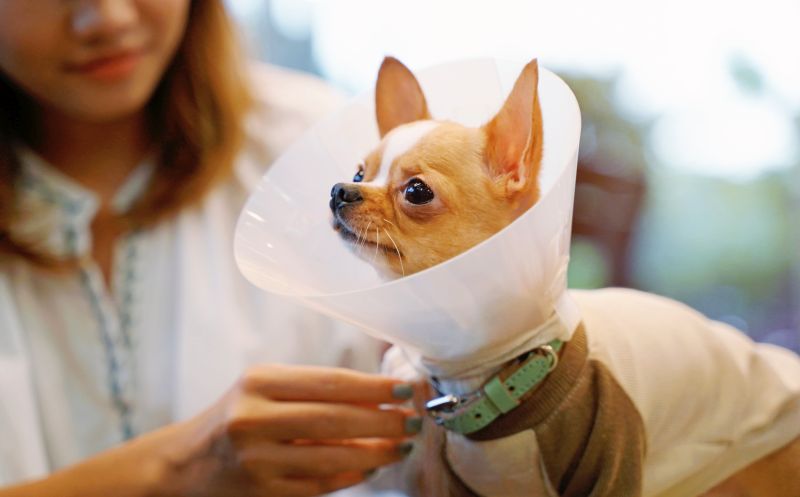
Dogs have a pretty universal reaction to wounds, itches, and assorted types of skin irritation: They lick or chew the area to “clean” it and make it feel better.
These are natural behaviors that often give wild canines the best chance to heal, but they can also make things worse. Sometimes, dogs who lick or chew their wounds may cause further tissue damage or introduce bacteria into the wound, which may trigger a serious infection.
Mother Nature has clearly determined that wound-licking behavior is a net positive for wild canines (and other wild animals), but your family pet is an entirely different matter. Your pet not only lives in a cleaner environment than wild canines do, he also benefits from the first aid and veterinary care you can provide.
Accordingly, it is wise to prevent your pet from mouthing wounds or irritated areas. And the very best way to do this is through the use of an E-cone (also known as an Elizabethan collar, a dog cone, or the dreaded “cone of shame”).
DIY Dog Cone Ideas & Plans
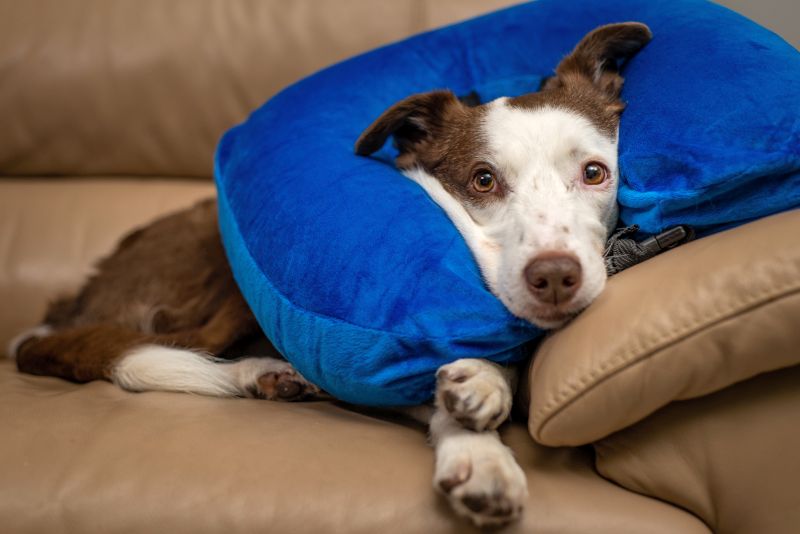
We’ll run down seven of the coolest DIY E-cone projects below and talk about some of the most helpful tips and tricks for maximizing their value.
1. Cardboard Cone Collar from PetDIY.com
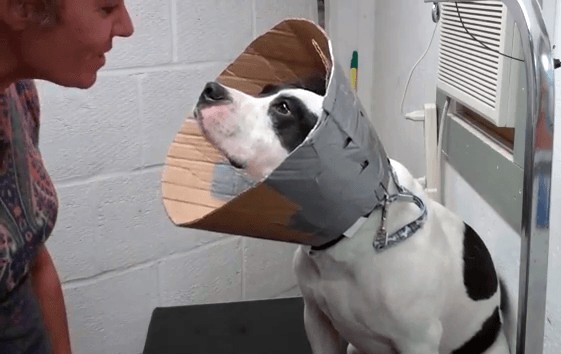
Cardboard is an obvious material to consider for just about any DIY project (speaking as a former 8-year old, I can assure you that a vast array of sibling-battling weaponry can be fashioned from a few pieces of cardboard), and it works quite well for making your own E-cone in this cardboard cone sollar project from PetDIY.com.
Skill Level: Moderate
Tools Required:
- Scissors
- Pencil or marker
- Measuring tape
Materials Required:
- A big piece of cardboard
- Vinyl strips or duct tape
- Zip ties or a shoelace
This is a pretty simple project, which shouldn’t take you long to put together. It won’t be the prettiest E cone ever created, but it’ll get the job done. If you want to get fancy, you could probably add in little “belt loops,” which you could then use to attach the cone to your dog’s collar.
Plastic dog cones and cardboard dog cones both have their merits. But in a nutshell, a plastic cone is going to be more durable and last much longer, yet a cardboard dog cone will be easier to make and less likely to cause a ruckus as your dog bangs it into things around the house.
2. Towel Dog Collar from DogTrainingNation.com
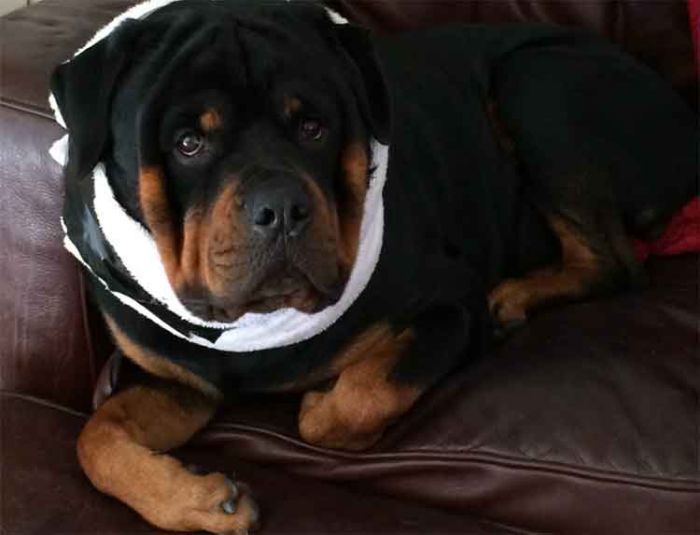
A protective collar doesn’t have to be rigid to prevent your dog from chewing or licking his body. In fact, there are a number of soft and comfortable cone collars on the market. But, if you’d rather make your own soft collar, just grab an old towel and check out this quick-and-easy towel dog collar from DogTrainingNation.com.
Skill Level: Easy
Tools Required:
- Scissors (optional)
Materials Required:
- Soft, thick towel
- Duct tape
- A plate of peanut butter (to keep your pup busy while fitting the collar)
This is a super easy soft collar to make, and chances are you’ll find everything you need laying around the house. I think the cleverest part of the whole project is the way they use the plate of peanut butter to keep their dog’s attention focused away from the collar.
3. Pliable E-Collar from Cuteness.com
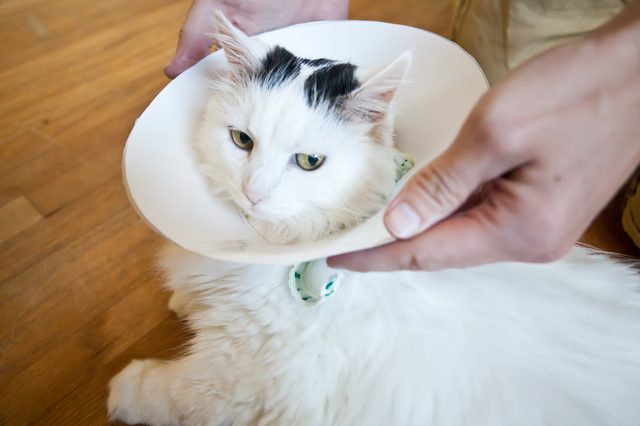
These plans will show you how to make an easy, yet effective, E-collar out of a number of possible materials. The Pliable E-Collar Plans from Cuteness.com appear to use foam rubber, but you could also use anything from flexible plastic to poster board. A paper plate would even work for a small pup.
Note that these plans actually discuss making an E-collar for a cat, but it’ll work the same way for a dog.
Skill Level: Moderate
Tools Required:
- Scissors
- Tape measure
- Pencil or marker
- Compass (you can use a piece of string to rig up a make-shift compass if you like)
- Hole punch
Materials Required:
- A large piece of pliable material
- Tape
- Ribbon, string, shoelace, or some other type of cordage
We couldn’t find a great video demonstrating how to make one of these collars, but the instructions provided by Cuteness.com are pretty easy to follow.
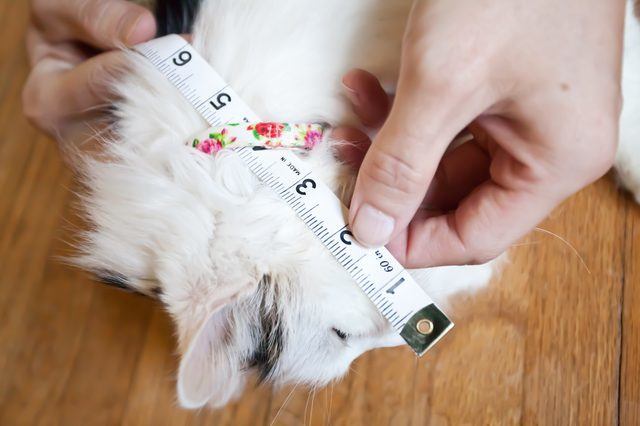
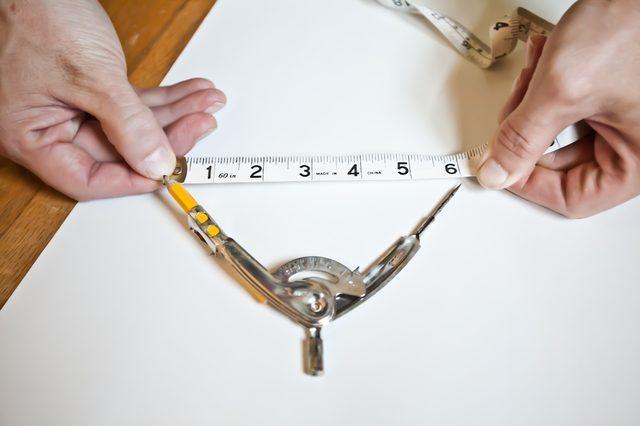
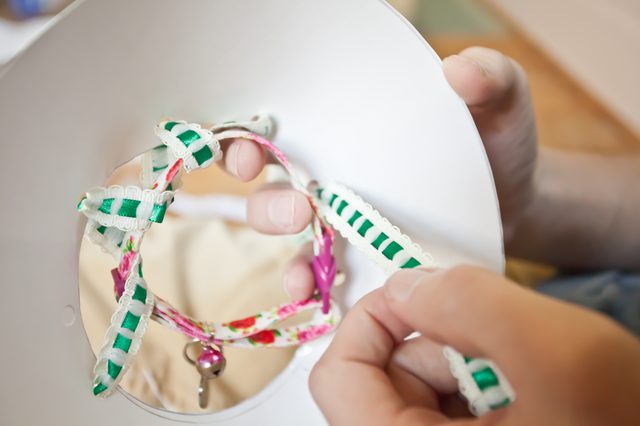
4. Bucket Cone Collar from Cuteness.com

The second project published by Cuteness.com on our DIY list, this Bucket Cone Collar DIY Design uses a plastic bucket or pail to make a protective collar for your pup. You’ll need to plan carefully and get the right size bucket for your pet, but it’ll provide more resilient protection than most other DIY versions will.
Skill Level: Moderate
Tools Required:
- Tape measure
- Sturdy knife
- Scissors
Materials Required:
- Bucket
- Tape
- String
The trickiest part of this project is cutting a hole in the bottom of the bucket. This will take a bit of force and plenty of care, so be sure to use a sharp knife (maybe even a serrated knife) and take your time when constructing this project.
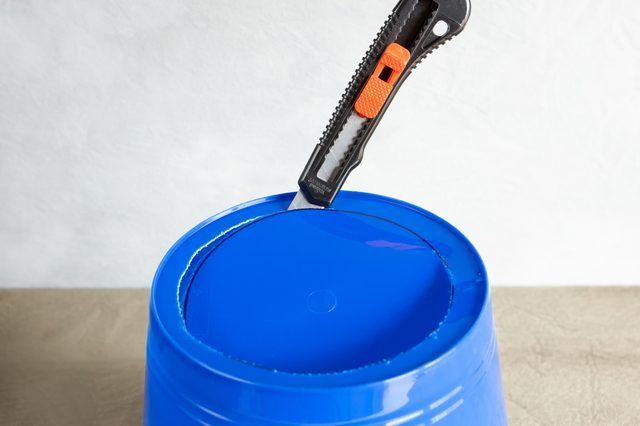
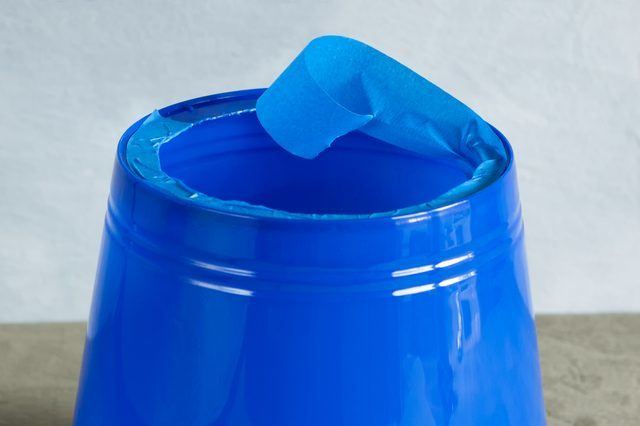
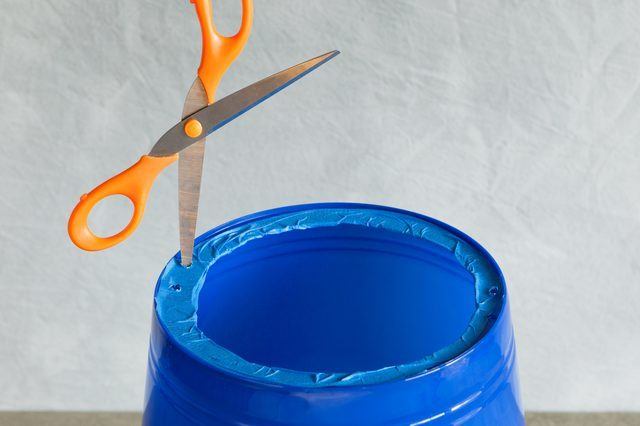
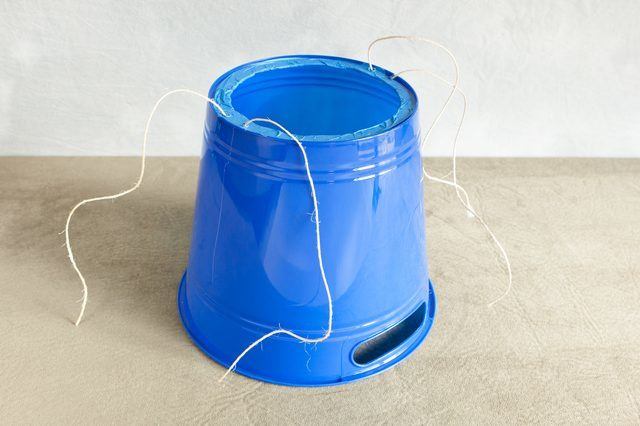
We can’t find a good video that describes how to make a bucket collar, but the instructions provided by Cuteness.com are pretty easy to follow. In fact, the whole project is rather simple; we only rate it as “moderately difficult” because it can be challenging to cut through the bottom of a bucket.
5. Pool Noodle Collar from PuppyTrainingTeacher.info
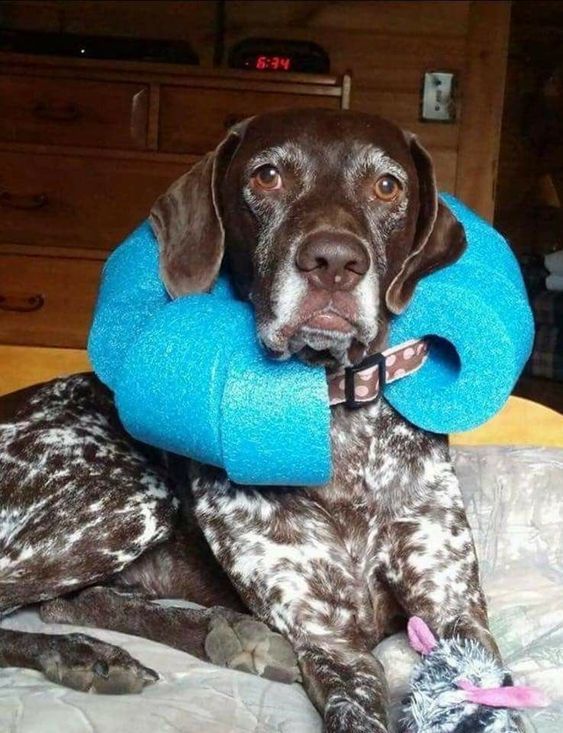
We came across an image of the noodle-inspired e-collar seen above, which seemed like a really neat idea. Unfortunately, it appears that the hosting site has changed up the page. While we can’t share exact instructions for this type of cone, it looks like a 3rd grader could probably figure out how to rig one up.
Skill Level: Easy
Tools Required:
- Scissors or a knife
- Tape measure
Materials Required:
- Pool noodle
- Rope, string, belt, or an extra collar
This is a remarkably clever solution if you ask me. I’d probably make this type of DIY E-cone for my pup if the need arose. You’ll have to adjust the design a bit to suit your dog, but most owners should be able to engineer one of these E-collars in 10 minutes or so.
Note that some owners find it helpful to cut the pool noodle into small sections, while others use a longer length of noodle. Whichever way works for your dog is fine.
This cone of shame alternative also seems like it’ll be pretty darn comfy for most pups, functioning more like a puffy collar than a standard cone for a dog’s head.
6. Butter Tub Collar from Mia Rose
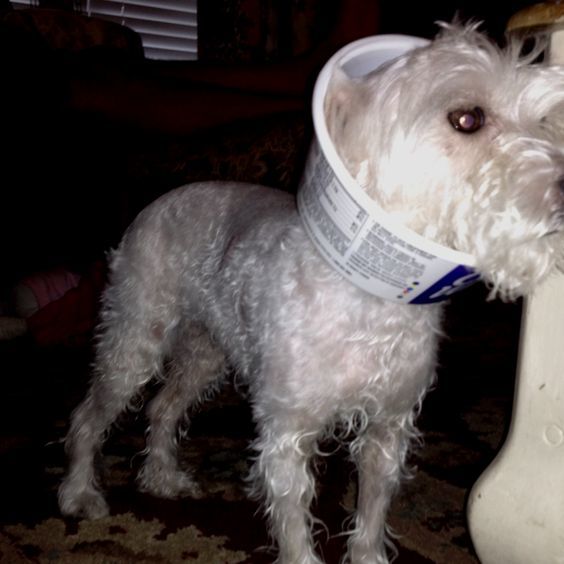
Here’s another cool idea we saw on Pinterest, but like the pool noodle E-collar mentioned above, we couldn’t find any DIY plans for it.
However, if you just look at it, there’s not much explanation required for this homemade dog cone alternative: Find the right size butter container or Tupperware in your kitchen, cut a hole in it, and put it on your pet’s neck. Because it’ll weigh much less than a bucket or pail, it probably won’t need any straps to secure it.
If you are concerned about the cut hole rubbing your dog’s neck, just slap on some duct tape for a bit of padding and Bob’s your uncle.
Skill Level: Easy
Tools Required:
- Scissors or a sharp knife
- Marker to draw a circle (optional)
- Compass to draw an even circle (optional)
Materials Required:
- Butter container or Tupperware
- Tape to cover inside edge of the hole
The hardest part of this project is finding the right size container. Once you do that, the rest should be pretty straight-forward. This is likely the simplest DIY E-cone you can make for your dog.
7. Egg Crate Soft Collar from Dogsaholic.com
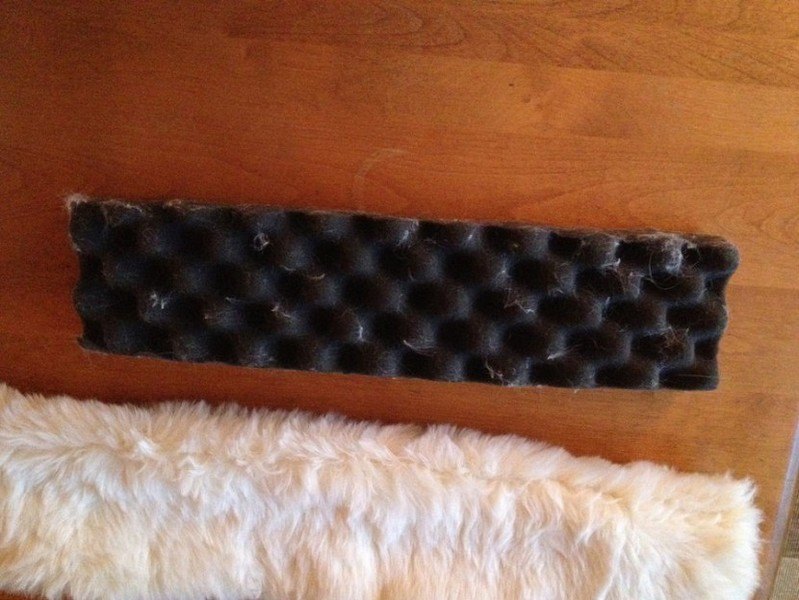
This is somewhat similar to the towel collar discussed earlier, but this Soft Egg Crate Collar from Dogsaholic uses soft foam egg crate instead of a towel. In some situations, this would be the better option than using one of your towels, and it’d probably be cheaper to construct too.
Skill Level: Moderate
Tools Required:
- Scissors
- Tape measure
- Needle and thread
Materials Required:
- Egg crate material
- Felt
- Velcro strips
These plans are a bit more elaborate than some others, as you’ll need to sew Velcro strips onto the fabric. However, this will make the collar very easy to put on and take off, and, if you are moderately handy with a needle and thread, it shouldn’t be terribly difficult to pull off.
We can’t find any good videos that walk you through the project, but it should be fairly easy to figure out: Cut a length of egg crate to the right length, cut a similar sized piece of felt to cover the egg crate, sew on a few strips of Velcro and you’re done!
Bonus tip: K9 of Mine reader Sally shared another great idea with us! She suggests using a human neck pillow (aka “travel pillow”) for a DIY dog cone. You’d likely need to come up with some way to keep the neck pillow attached to your dog’s neck, but we like this idea too!
When Do Dogs Need E Cones?
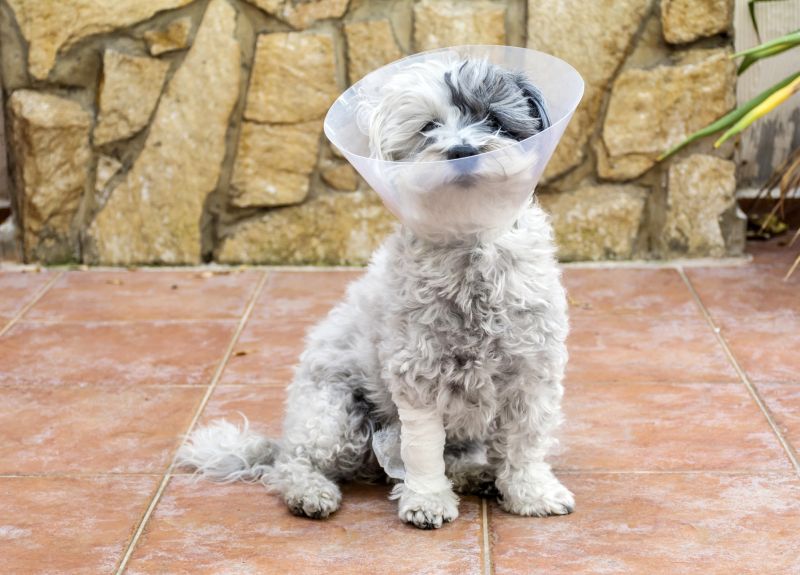
Both commercial E-cones and DIY cones are helpful in a wide variety of situations and circumstances, but a few of the most common times in which they’re used include:
Following Surgery
Anytime your dog has surgery, he’s going to come home with an incision, which will typically elicit licking and chewing behaviors.
It’s important to put a stop to this natural response because your dog could quickly rip out the stitches, allowing the wound to pop open and exposing your dog to very serious (potentially life-threatening) danger. So, you simply must keep his mouth away from the incision while it heals.
After Being Spayed or Neutered
Spaying and neutering fall under the surgery umbrella, but they deserve special mention because they are such common procedures. Also, each of these procedures will leave an incision in a place that dogs can easily reach, so once again, it is very important to use a dog cone to protect your dog’s wound while he heals.
When Battling Yeast Infections or Other Skin Conditions
Various types of skin infections are pretty common among dogs, and they almost always trigger a bunch of licking and chewing behavior (such infections are often quite itchy). And although they’re usually relatively easy to treat with your vet’s help, you’ll need to keep your dog’s mouth away from the afflicted area while the medication does its thing.
Dogs Who Exhibit Problematic Chewing Behaviors
Some dogs develop emotional or behavioral problems that cause obsessive skin licking or chewing. This can cause wounds to form and encourage the development of secondary bacterial infections, so you’ll want to use an E-cone while addressing your dog’s issues with an animal behaviorist, reliable dog trainer, or vet.
Dogs Suffering from Flea Infestations or Allergies
Even a low-level flea infestation can cause your dog to be quite itchy, but some dogs actually develop an allergy to flea bites, which takes the itchiness to an entirely new level. This can trigger the kind of constant skin chewing that often results in skin wounds and infections.
You’ll obviously have to address your dog’s flea problem, but while you do, you’ll probably want to use an E-cone to prevent the problem from worsening.
Homemade Dog Cones: Tips and Tricks For Your Canine’s Convalescence
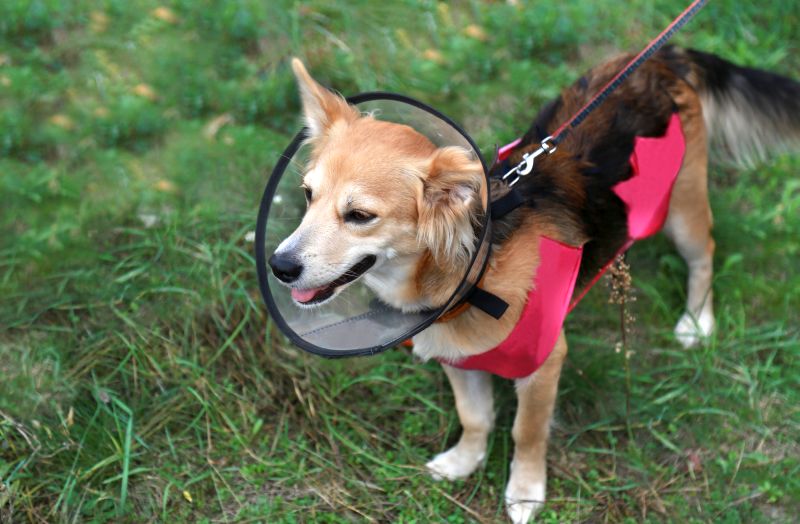
Whether you make your dog’s E-collar yourself or you buy one off the shelf, you’ll want to employ a few easy tips and tricks to help ensure it works as desired and gives your dog the best chance to heal. Among other things, this means doing the following:
Be Strict About the E-Cone
Dogs rarely enjoy wearing an E-cone, and they’re usually pretty good at guilting mom or dad into taking it off. But this is a very bad idea, as they’ll typically use the opportunity to start chewing at their incision or injury. In fact, it’ll also slow down the adjustment process, which will make things harder on your pet in the long run.
Just commit to the cone and refuse to take it off unless absolutely necessary. Your dog will forgive you, and he’ll be better off if you provide a little tough love while he heals.
Help Guide Your Dog Around the House
If you put a rigid E-cone on your dog, you may notice that he has a problem bumping into doorways, furniture, and other things in the house. Most dogs will (slowly) learn to get around without bumping into things, but you can speed up the process a bit by helping guide your dog for the first few days he’s wearing the collar, or keeping him gated in a smaller area while he recovers.
Remove at Mealtime If Necessary
Most properly fitted E-cones will allow a dog to eat normally, but some models can cause problems for dogs (particularly dogs with short faces or necks). Ideally, you’ll just hand feed your dog during this time, but if you don’t want to do this, you can take the E-cone off while your dog eats. Just be sure to monitor your dog carefully and put the cone right back on when he’s done eating.
Periodically Check for Abrasions
If your dog’s E-cone fits properly, it’ll be unlikely to cause abrasions, but it’s always a good idea to take the collar off so you can inspect his neck once every other day or so. Add extra padding or adjust the fit of the collar if need be to keep the cone from cause these types of injuries.
Have you ever made a homemade dog cone alternative? We’d love to hear about it! Tell us the basic materials you used and how you put the contraption together. We’d also be curious to know if you’d use the same type of cone again in the future if need be, or if you’d just buy a commercial model.
Want to work on more dog DIY projects? Check out our guides on:





Leave a Comment