
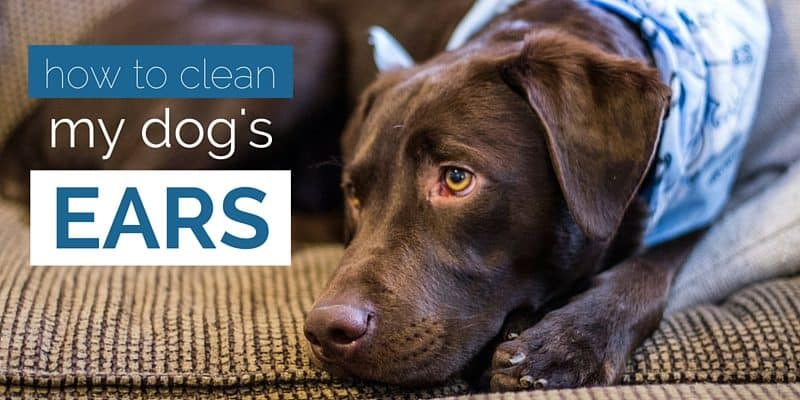
From basset hounds to basenjis, canine ears are adorable, but they require regular care from time to time to keep them wax-free. Fortunately, making your own homemade dog ear cleaner is a breeze, and requires just one simple ingredient: olive oil. .
But while this “recipe” is quite simple, be sure to consult your veterinarian before using it on your pooch.
Homemade Dog Ear Cleaner: Key Takeaways
- Cleaning your dog’s ears on a regular basis is important for keeping your pet’s ears clean and free of excess wax.
- You should always consult with your vet before initiating an ear-cleaning regimen, as some treatments can make existing infections or injuries worse.
- Once you get the green light from your vet, you can bust out the olive oil and a cotton ball and get to work.
Ear Cleanings: An Important Component of Canine Care
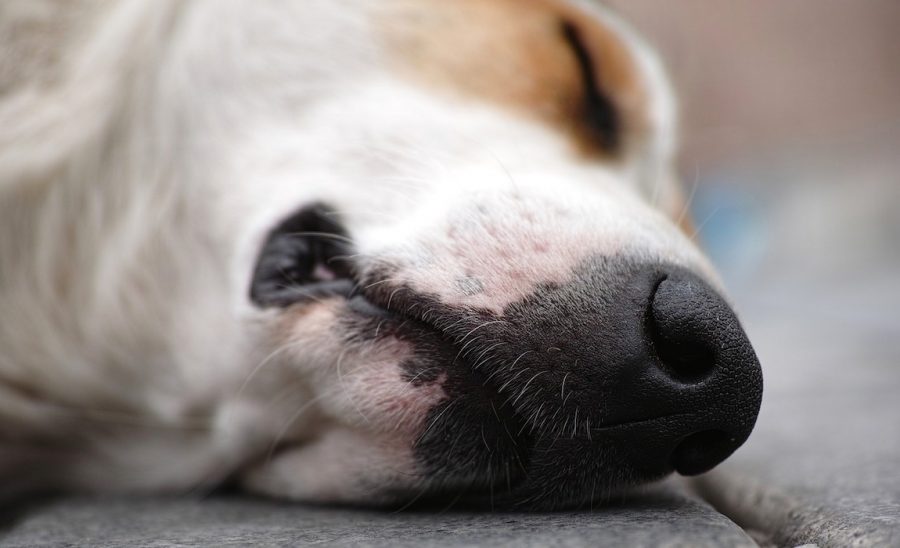
Regular ear cleaning is vital for avoiding ear infections – some breeds more so than others. Basset hounds and other floppy eared dogs, for instance, have long ears that seal off the inside of the canals, and are especially prone to infections.
A few more breeds of dogs that are especially susceptible and suffer from frequent ear infections include:
- Labrador retrievers
- Cocker spaniels
- Pit bulls
- Poodles
- Shar-peis
Additionally, dogs who suffer from allergies or like to swim also appear to be at an increased risk of ear infections.
Canine ear infections may seem like little more than a nuisance to us owners, but left untreated, they can cause severe pain, nausea, and permanent damage.
Below, we’ll give you a recipe for easy DIY dog ear cleaner, and offer you some basic tips for keeping canine ears squeaky clean!
Basic Homemade Dog Ear Cleaner Recipe
As explained above, a basic DIY dog ear cleaner is simple to make – you just need some olive oil from your kitchen! It’s a ready-made ear cleaning solution! You could also use plain vegetable oil, but avoid avocado or grape seed oil for safety’s sake.
But whatever you do, avoid using products like hydrogen peroxide, boric acid, vinegar or alcohol, as they can cause pH imbalances or irritate healthy skin.
But because it can be tricky to use olive oil without making a mess, we typically recommend pouring some into a little squeeze bottle first. You’ll want to store it in a cool, dark place in between uses.
Once you’ve done so, just apply a few drops into your dog’s ear and then massage it around. From there, you’ll want to take a clean cotton ball and wipe away the excess oil and any wax it dissolves.
As we’ve said, be sure to clear this recipe with your vet before you use it for your pooch. Your vet will likely feel safer recommending a store-bought variety, which can usually be found at your local pet store. However, he or she may give olive oil the green light in a pinch.
Don’t have olive oil handy? You can also use propylene glycol, mineral oil, or glycerin to remove excess ear wax.
Caution: DIY Ear Cleaners Are for Healthy Ears Only
Before you go cooking up this DIY ear cleaning recipe (or any other kind of ear drops), you’ll want a clean bill of ear health from your vet. Only after getting the veterinary green light should you start a DIY ear-cleaning regimen.
If your dog has an ear infection or an inflamed ear drum, you’ll need to complete whatever treatment your vet recommends before using a DIY ear cleaner.
Antibiotics are required to fight a canine ear infection, and there is no DIY alternative. Using homemade ear cleaner (or store-bought dog ear cleaners, for that matter) in an already infected ear will only make matters worse.
Before you use a DIY ear cleaning option, you’ll also want to confirm with your vet that it’s a safe solution for your pup – without question, your veterinarian is the best source to answer your ear cleaning questions. A commercially made product with medication may be your vet’s suggestion, but it doesn’t hurt to offer up your DIY recipe for approval.

Causes of Ear Infections in Dogs
A variety of things can cause your dog to suffer from an ear infection. Some of the most common causes include:
- A bacterial infection (less commonly, a fungal or viral infection)
- Excess water or liquid in the ear
- Excessive ear cleaning
- Injury
- Large amounts of earwax
- Allergies
- Skin problems
- Foreign objects
Ear mites are another common cause of ear infections, especially in puppies or dogs that spend a lot of time outside.
As the name implies, these tiny bugs can wreak havoc on your pup’s ear. Fortunately, certain flea and tick preventatives can help to keep ear mites at bay.
If your dog is suffering from an ear infection, you may need to use an E-collar to prevent him from pawing at his irritated ears. You can buy an E-collar or make your own DIY dog cone at home.
Signs of an Ear Infection in Dogs
Symptoms of an ear infection range from barely noticeable for both you and your dog, to extremely painful and disruptive to your dog’s daily grind. The symptoms tend to change based on the severity of the infection, and how deep the infection is in the ear.
There are three basic types of ear infection which each affect a different portion of your dog’s ears.
1. Outer Ear Infection
The least severe, and usually the most common type of ear infection, affects the outer ear. These infections (which are often called otitis externa by vets) are commonly identified by noting swelling around the ear and an excessive amount of earwax. You’ll probably notice your dog digging at his ear more than usual too.
2. Middle Ear or Inner Ear Infection
The other two types of canine ear infections involve the middle ear or, most seriously, the inner ear. An infection of the inner ear, if left untreated, can cause a host of scary, and sometimes permanent, damage to nerves and hearing.
Your pup can’t tell you about ear pain or discomfort, but it’s likely that certain behaviors or actions can clue you in to his general ear health.
Here’s a list of some of the major symptoms of ear infections – contact your vet immediately if you notice any of these red flags:
- Tilting the head or the body to one side
- Poor balance
- Head shaking / ear flapping
- Scratching or pawing at the ear(s)
- Nausea
- Green or brown discharge or odor around the ear(s)
- Sensitivity or pain around the ear(s)
- Masses around the ear
It’s important to remember that sometimes an ear infection produces no major symptoms. You may have to closely inspect the ear to see excessive wax as a clue to an infection.
Regardless of the severity, if you suspect an ear infection, it’s time for a vet visit before it becomes extremely painful for your pup.
Your vet will closely examine your dog’s afflicted ear, inside and out. This may involve a sampling of the fluid or earwax to identify the infection or ear mites. In the most severe cases, an MRI or X-Ray may be required.
Once the cause and the severity are determined, your vet can then recommend the right treatment for your pup’s condition.

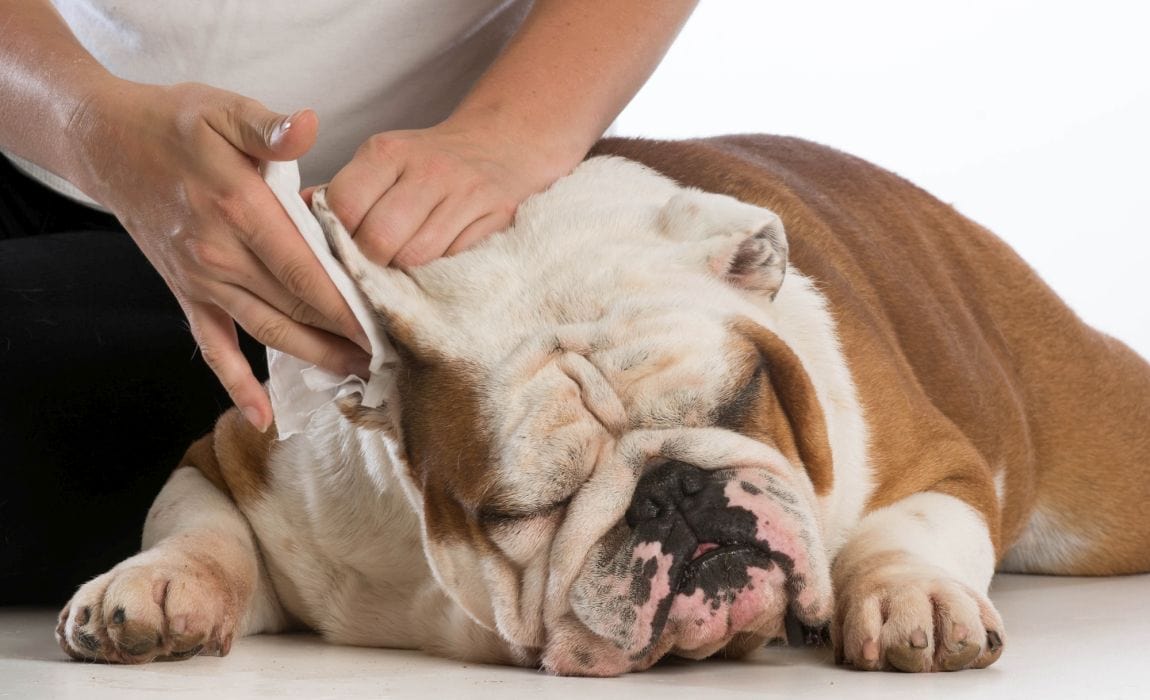
How to Clean Your Dog’s Ears
Regular cleanings are certainly important for your dog’s ear health. So, once you’ve been cleared to clean by your vet, it’s time to get to work on cleaning out those ears!
As with the cleaning solution recipe, consult your vet about the actual cleaning process. Check out the how-to video posted below, and make sure you’re prepared with our step-by-step guide before you start:
- Expect ear cleaning to be a messy process, so have an old towel or rag on hand to clean up afterwards.
- Aim the solution-filled squeeze bottle directly into the ear canal. Resist the urge to stick the bottle’s nozzle into your pup’s ear – let the solution do the work, and make sure the fluid is the only thing entering your dog’s ear.
- Once you’ve applied the solution, massage the area around the ear and ear canal. You’re helping the solution to break up the gunk and making sure that the fluid reaches the inner ear.
- Just like when your pup is covered in suds in the bath, his instinct will be to shake his head after you’ve applied the solution. This is an important step to remove excess solution and stop the dripping, as well as loosen or remove earwax.
- Using a clean cloth or a cotton ball (not a cotton swab), wipe the exterior of the ear canal clean from solution or earwax.
- After each cleaning, and in between cleaning each ear, make sure you wipe off the nozzle of the solution bottle to clear any debris that may be carrying bacteria. If you have more than one dog, it’s a good idea to invest in a separate bottle for each pooch to avoid spreading germs.
Also check out our full article on how to clean your dog’s ears for an even more in-depth tutorial.
As you’re massaging the ear and the surrounding area, make a note of your dog’s reaction. If he reacts with a yelp or other indication of pain, stop immediately and call your veterinarian.
While this should feel good to your pup, if your dog seems to enjoy this a bit too much and leans into your hand, you may be taking care of a hard-to-reach itch – a possible sign of an ear infection.
It’s important to keep in mind that your dog has no idea what you’re doing — liquid trickling in the ear canal definitely feels funny and may sound a little scary.
Make sure you don’t startle your pup with fast or harsh movements. Be gentle throughout the process, and avoid scolding him if he doesn’t sit entirely still or totally cooperate.
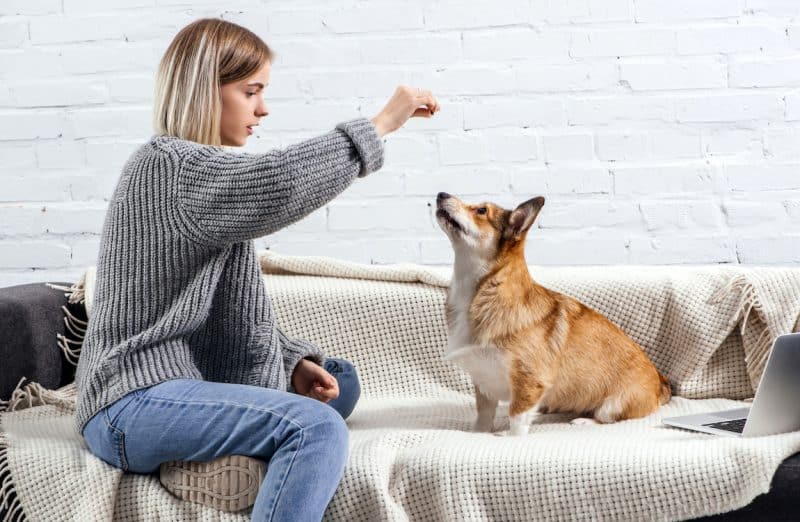
Ear cleaning is not a fun activity, but you’ll want to make it a positive one so future cleanings aren’t a nightmare for all involved. Use treats to keep your dog distracted and content throughout the process. Talk to him in a soothing voice throughout to reinforce his well being.
Negative or scary experiences leave a lasting impression on pups, so keep ear cleaning positive!
Additionally, never use Q-tips or other small tools that could cause damage. A good rule of thumb (literally) is to never stick anything further into your dog’s ears than your finger will fit.
Penetrating your dog’s eardrum can cause permanent damage and extreme pain, so always stay on the safe side – in this case, the outside.
How Often Should You Clean Your Dog’s Ears?
Like all decisions involving your pets’ ears, how frequently you clean them requires a conversation with your veterinarian.
Factors like breed, skin conditions, allergies, and activity play a role in the decision. Remember that cleaning his ears too frequently can cause chronic ear infections, and improper cleaning, in which fluid gets trapped, can cause an infection as well.
Banfield Pet Hospital suggests that most dogs need a cleaning about once per month, give or take depending on other health or lifestyle factors. You may find that once a month is even excessive, and even less frequent cleanings will work for your pup.
***
Ear cleaning is no fun for anyone, but with the right solution and a well-executed plan, it’s an important part of canine hygiene to help your pup avoid chronic ear infections!
Do you have a dog-tested and vet-approved ear cleaning process? Let us know in the comments!


Leave a Comment